
A good driveway starts below the visible surface. Material choice matters, but the depth of the base, the direction of runoff and careful compaction often determine how well the finished driveway handles daily traffic. Before ordering supplies, measure the area, check the slope and identify any soft ground. Those early checks can save you from correcting ruts, puddles or spreading edges later.
Some links in this post are affiliate links, which means I receive a commission if you make a purchase.
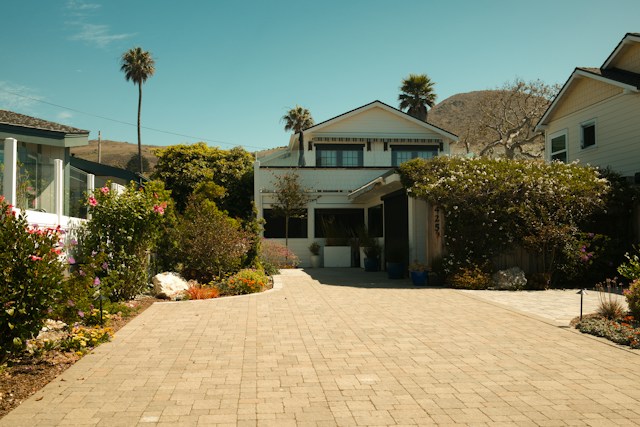
Image Credit: Unsplash
Choosing Your Driveway Material
Start with your budget, expected traffic and the amount of maintenance you can handle. Gravel is affordable, drains well and can be refreshed in sections, though loose stones may migrate. This gravel driveway guide explains how stone size and aggregate type affect the finished surface.
Asphalt creates a smooth driving area but needs periodic sealing. Concrete lasts for years when installed correctly, while pavers offer easy spot repairs and plenty of design flexibility. Reviewing popular driveway options can help you compare appearance, upkeep and installation needs. Also consider your climate. Repeated freezing, heavy rain and intense sun can each affect materials differently.
Planning for Proper Drainage
Water should move away from the driveway and nearby structures without crossing a neighbor’s property or collecting near the foundation. A gentle crown can direct water toward both sides of a gravel driveway. A paved surface may need a consistent cross slope that sends runoff toward a safe drainage area.
Watch the property during a hard rain before work begins. Mark puddles, flowing water and damp soil so you know where trouble already exists. Low areas may require extra base material or a drain approved for local conditions. Keep the finished driveway below garage floors and door thresholds. If grading could affect a public road, sidewalk or drainage channel, check local requirements before changing the site.
Getting Materials to Your Site
Calculate the driveway’s length, width and required depth before placing an order. A 12-foot-wide driveway that is 50 feet long covers 600 square feet, but the volume of material depends on how many compacted inches the project needs. Ask whether estimates should account for settling and compaction.
Arrange reliable material supply and delivery after confirming that a dump truck can safely reach the planned drop area. Look for overhead branches, narrow gates, soft lawns and buried utility areas. Choose a firm location where the pile won’t block vehicles or wash into a drain. Scheduling separate loads can make layered construction easier because base aggregate and surface stone serve different purposes and shouldn’t become mixed before placement.
DIY Driveway Installation Tips
Remove vegetation, roots and loose topsoil until you reach stable ground. Mark the driveway boundaries with stakes and string, then confirm the grade before adding material. A geotextile fabric may help separate the soil from the aggregate on soft sites, but it won’t correct poor drainage or an unstable base.
Build the driveway in layers. Spread several inches of base aggregate, compact it and check the grade before placing the next layer. A rented plate compactor works for many small projects, while larger areas may require heavier equipment. Compact when the material is slightly damp, not soaked. Install edge restraints where spreading is likely, then keep vehicles off the surface until the final layer is firm and even.
Maintaining a Lasting Surface
Inspect the driveway each spring and after severe storms. Fill small gravel ruts before tires deepen them, rake loose stone back from the edges and remove leaves that hold moisture against the surface. Paver joints may need fresh jointing material, while cracks in paved surfaces should be addressed before water reaches the base.
For asphalt, follow the product instructions and wait for suitable weather before applying a coating. This guide to a favorite driveway sealer offers a practical starting point for planning that job. Avoid piling snow, soil or heavy materials along unsupported edges. A quick inspection after the next heavy rain will show you exactly where your first maintenance task belongs.
This is a contributed post.
More From NeededInTheHome
Product Reviews
Get Our Books
Etsy Shop
TPT Store
eBay Store
Linktree
My Faith Testimony
Subscribe so you never miss a post.
If you find my tips useful, feel free to buy me a coffee. Thank you in advance!
Want to remember this? Pin it to your favorite Pinterest Board!
Join the newsletter
Subscribe to receive our latest articles and promotional content by email from NeededInTheHome
Leave a Reply