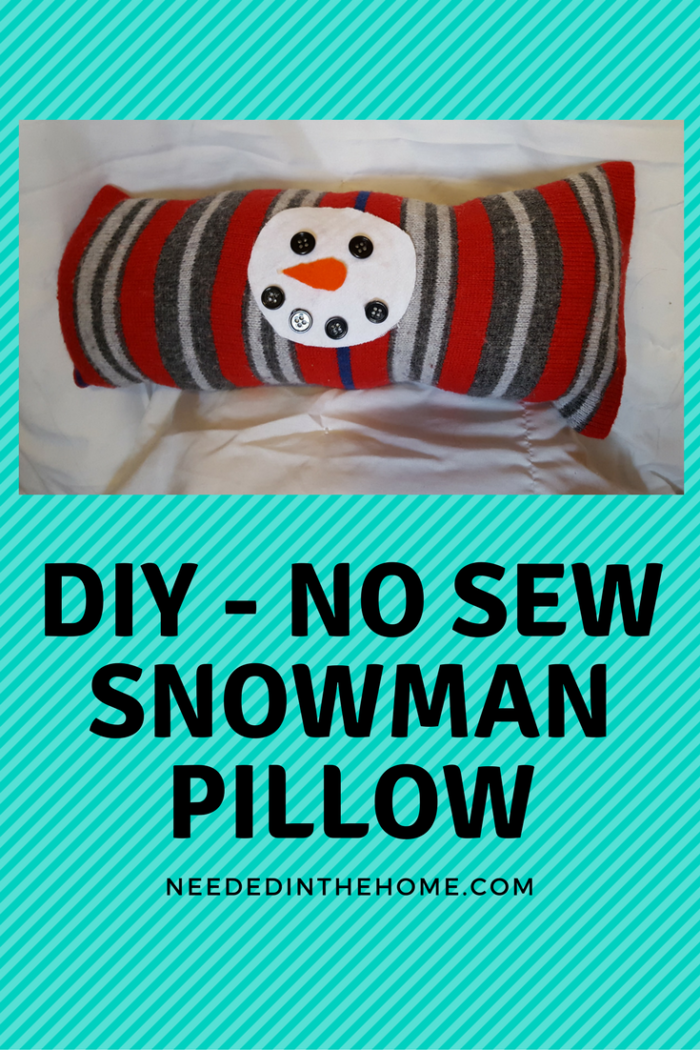
Let’s make some snowman pillow Christmas decorations for your home or as gifts to others! Making a snowman pillow is a great project for older kids as a club activity and the items could be donated to dress up a nursing home or firehouse for the Christmas Season! Or, you could make these and sell them on Etsy.
Note: Some links in this post are affiliate links, which means I receive a commission if you make a purchase. Affiliate relationships include, but are not limited to Amazon Associates, Walmart.com, and Etsy.
What You Will Need
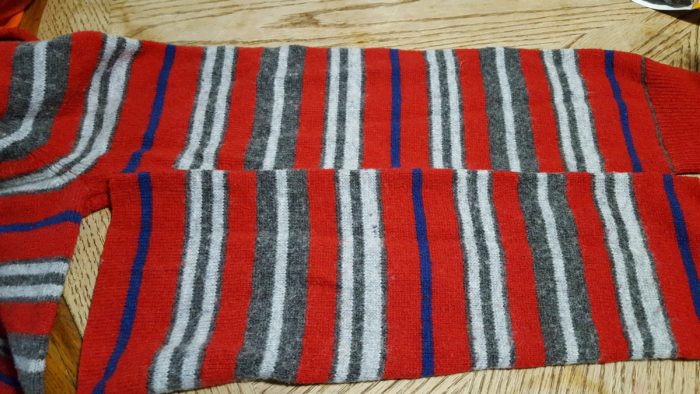
Old sweater, you could re-purpose or upcycle a favorite and beloved sweater that may have a stain, rip or hole in part of it. Be sure it is freshly laundered!
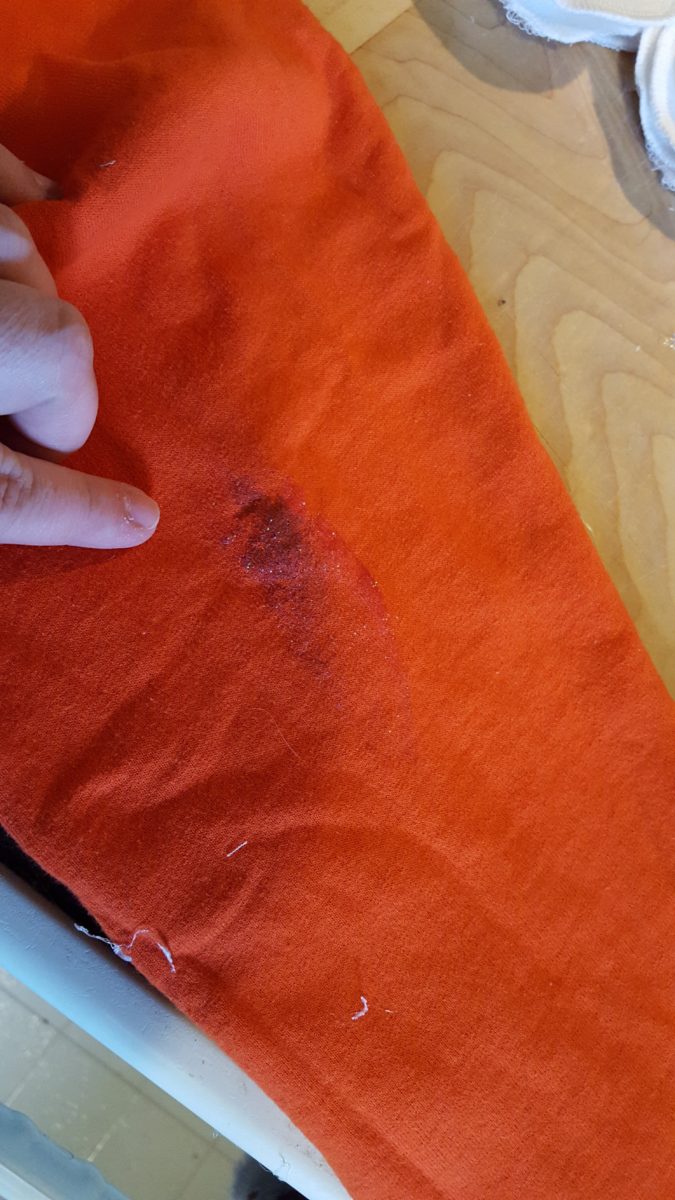
Old orange clothing, same condition as above, can be tiny as it is for the nose
See if you can find an arm on the sweater with no stains, rips or holes. Cut it off so that it is a little longer than you want it as you will lose a little length when you fold each end inward and glue it.
An arm of a sweater being cut to make a snowman pillow.
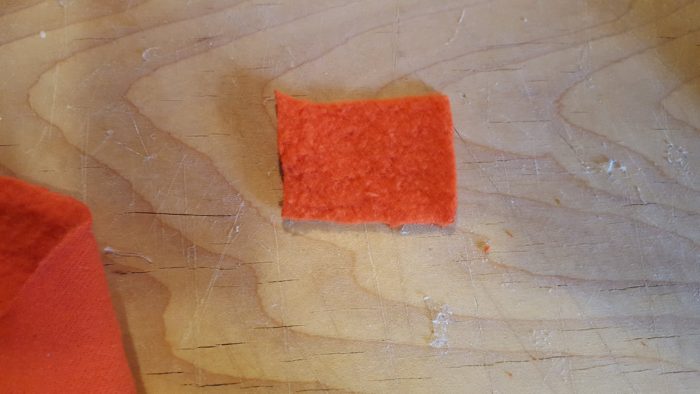
Find Some Orange Material And Cut It Into A Carrot Nose
It’s okay if your piece of material is stained all over on one side! This sweatshirt has glitter paint on the outside. But that’s okay because I want my carrot nose to be fuzzy so I am going to use the inside of the shirt.
A piece of an orange sweatshirt to use to make a snowman pillow.
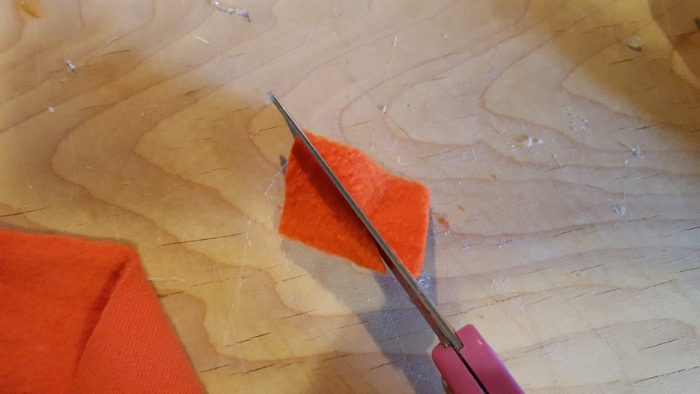
Now cut from one corner diagonally over to the other to have the type of triangle we want to work with.
Save
A scissor cuts the square diagonally to shape the perfect nose for your snowman.
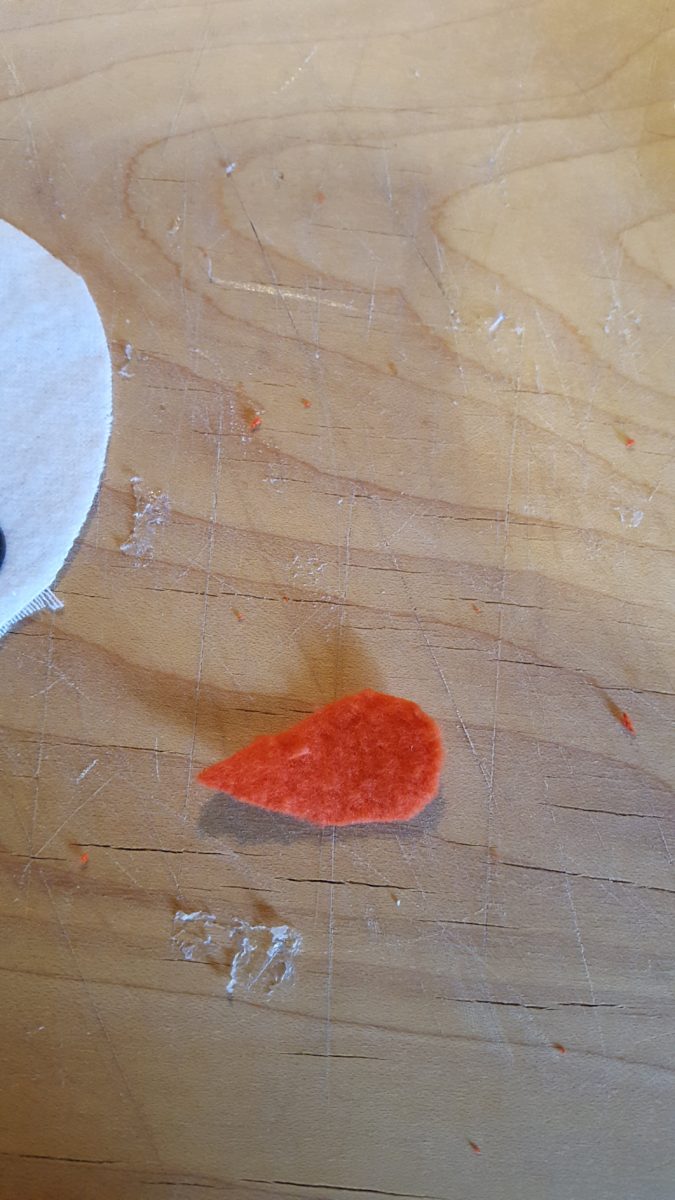
Now take one of those triangles and round out the large end of the triangle to make it look carrot shaped like this.
Save
Round the edges of the large side of the triangle to look like this.
Prepare The Snowman Face
Cut your white cotton flannel cloth into the shape of a circle. You could turn a glass with about a 3 to 3.5 inch rim upside down and trace around it or just cut it to look like a rough circle. To create a hygge sort of feeling in your home, you don’t want it to be 100% perfect, you may want it to look comfortable, relaxed, like you can touch or squish it and have fun and be happy, not a sterile, perfect, afraid to touch it feeling.
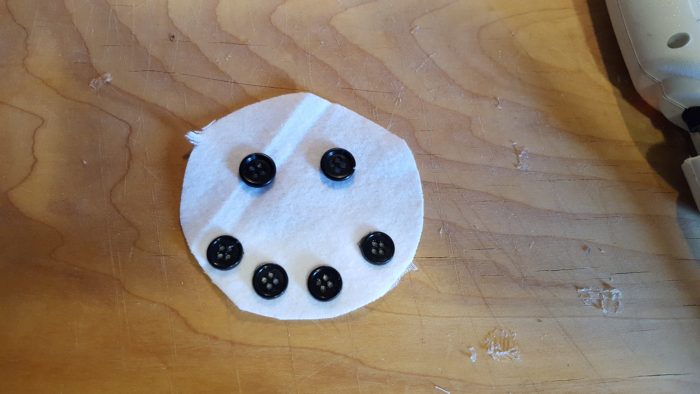
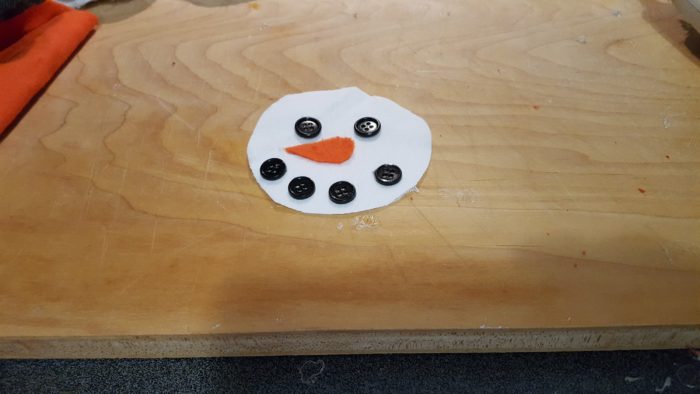
Warm up your hot glue gun with a glue stick in it. Hot glue the eyes and mouth onto your snowman face similar to this.
Save
A snowman face with button eyes and mouth that were hot glued onto the fabric.
Now add the carrot nose with the fuzzy side sticking up.
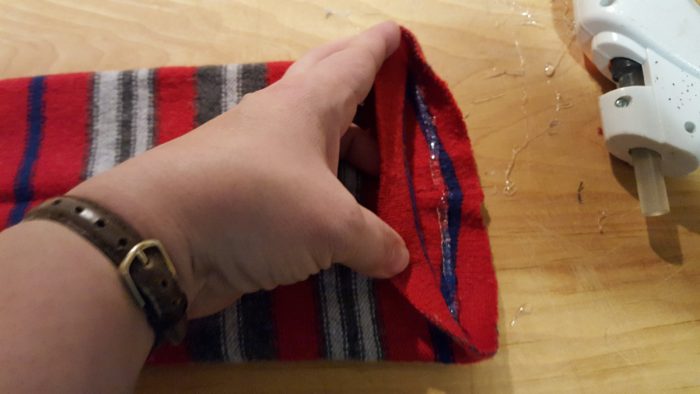
On the other end of the sweater arm, glue a line that leaves an open space in the middle to provide a space to turn the arm right side out and leave a hole for stuffing to go into.
Save
When hot gluing this end of the sweater arm, leave a hole in the center so you have a place to put the stuffing.
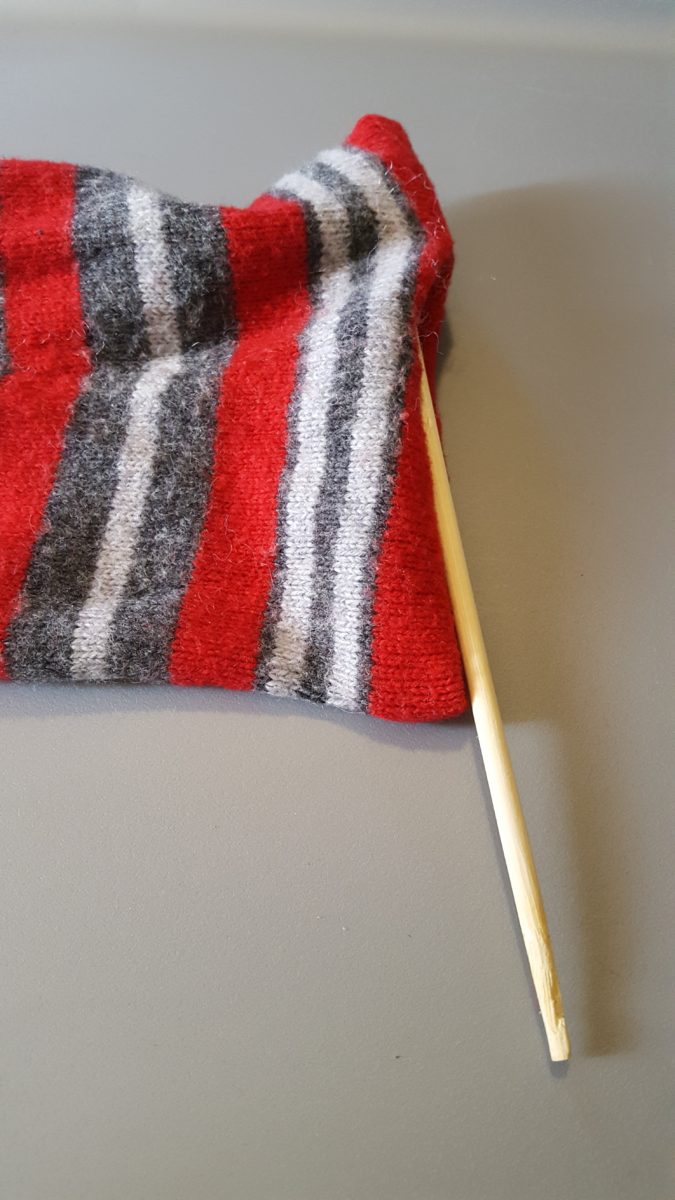
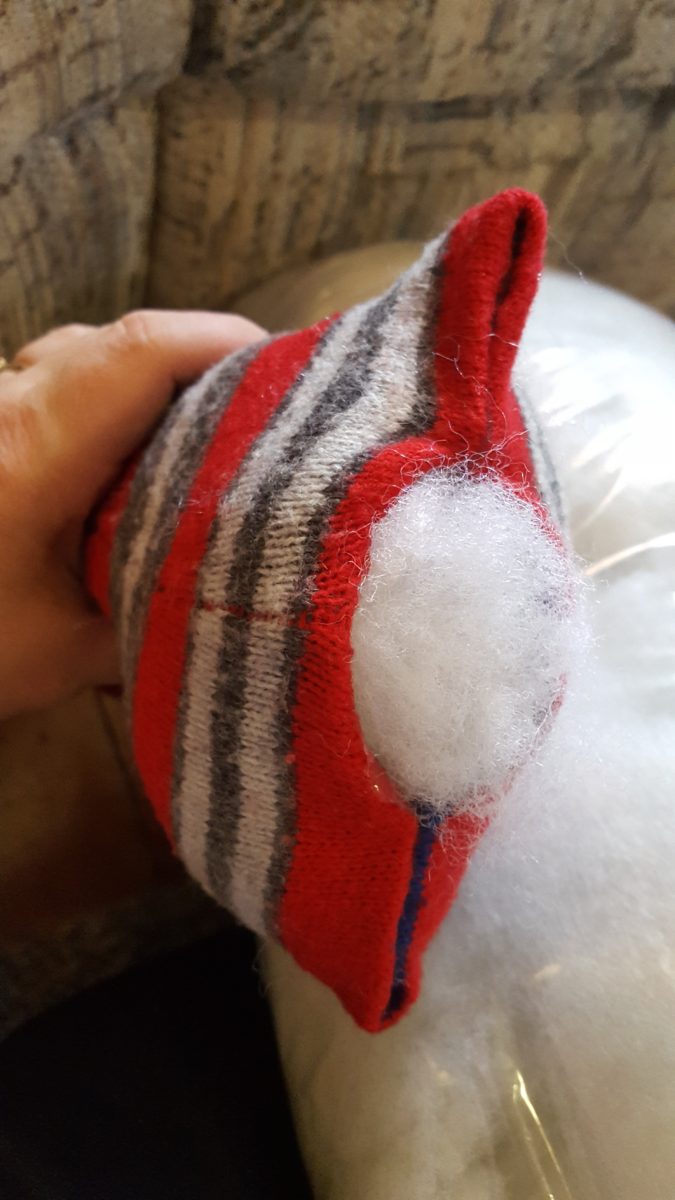
After the glue has cooled, turn the sweater right side out. Take your stuffing tool, pencil or chop stick and poke the corners out as shown.
Save
Poke out the corners of the pillow with a stuffing tool, pencil or chop stick.
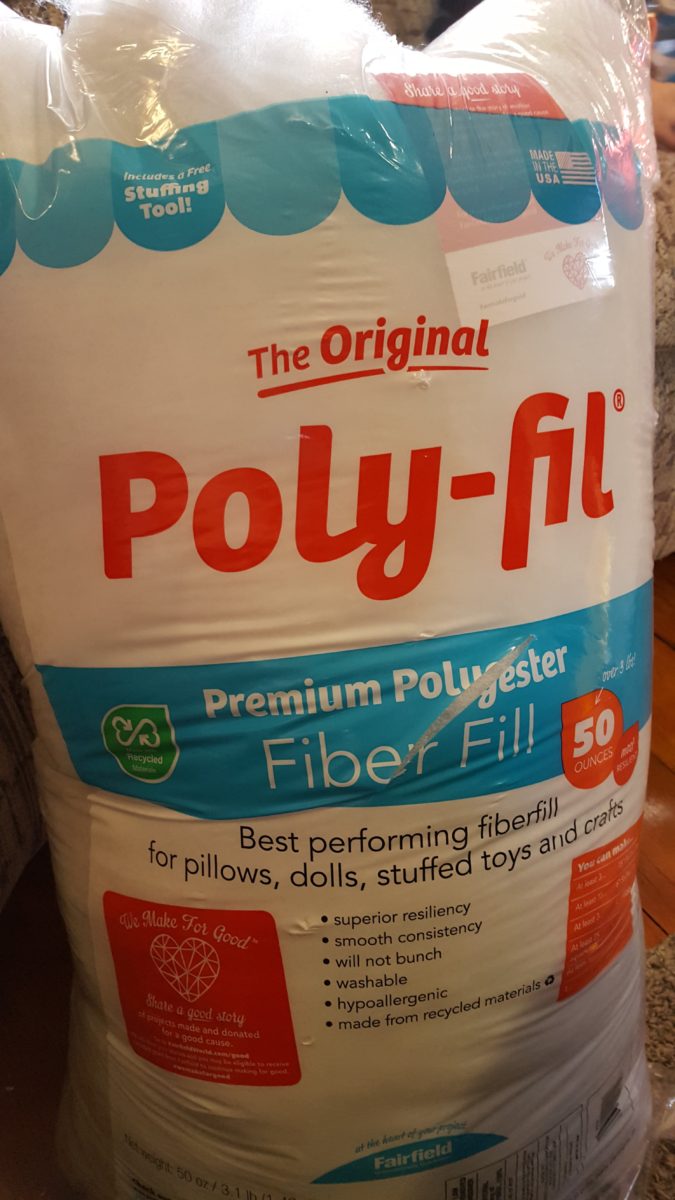
Push the Poly-Fil into the pillow with your hands or stuffing tool. Hold on to the end with the hole and give it a good slap or shake to get some of the stuffing in there farther or push it with your fingers or tool. You determine how thick you want it to be.
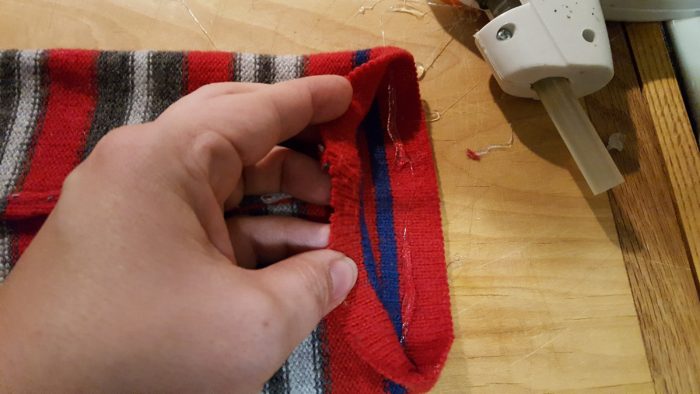
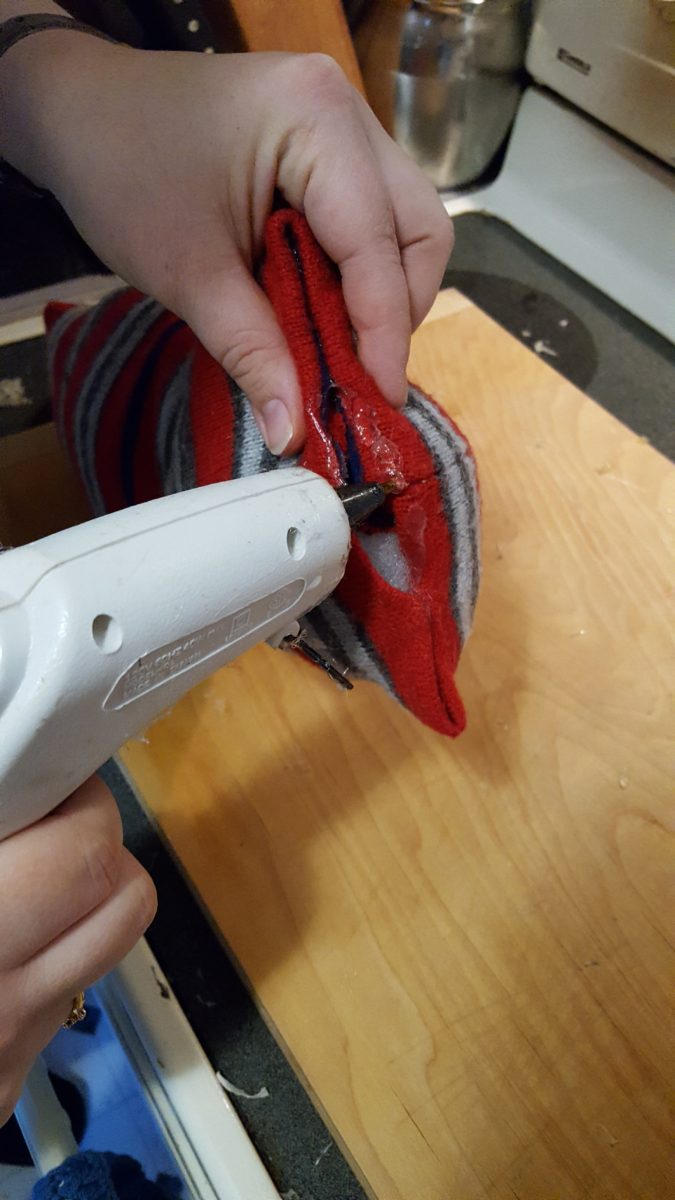
Now, this is the hard part (have an adult do this part if this is a club activity) and you need to take care to not get burned. Push the stuffing down inside of your pillow and fold in the sides of the open hole. Put hot glue on it and push it down inward a bit with the nozzle of your hot glue gun (do not touch the glue with your fingers!) Then pinch the fabric together so hardly any glue shows on the outside. It is tricky, but again, this doesn’t have to be PERFECT, it is handmade and touchable.
Save
Carefully put glue where the hole is, keeping in mind you will have to pinch this shut with cut seams on the inside.
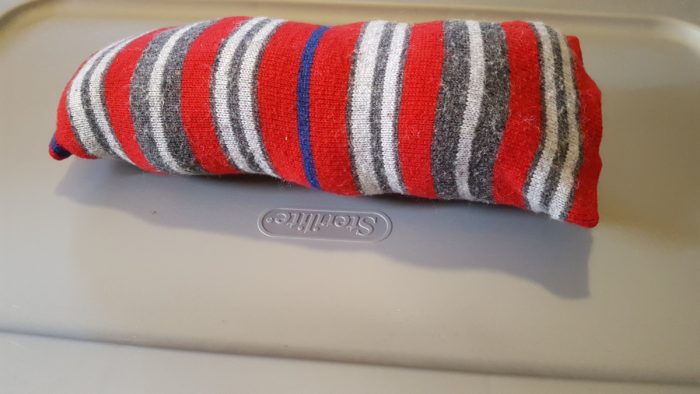
It should end up looking roughly like this:
Save
The stuffed pillow waiting for the snowman face to go on.
Add The Snowman Face
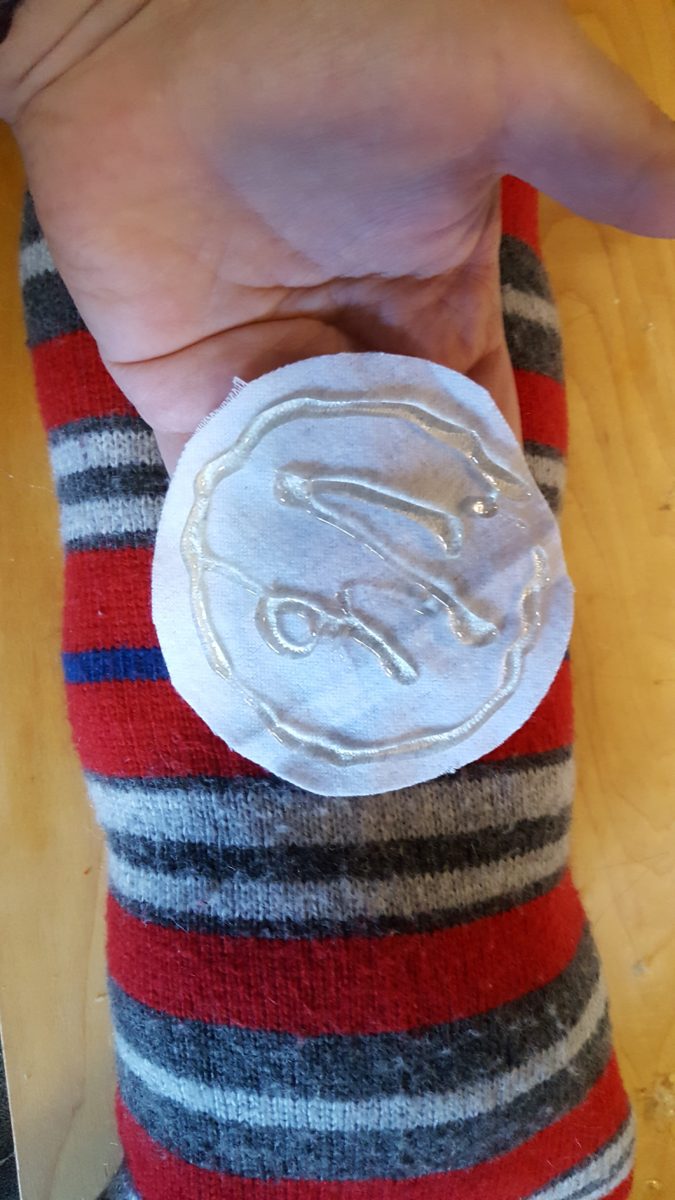
Now take your face and turn it upside down in your hand and add the hot glue, then turn it in the right direction and place it on your pillow where you want it, do not adjust it or you will have a mess! Do this quickly or it will start burning your hand through the fabric.
Save
What the glue looks like on the back of the snowman face.
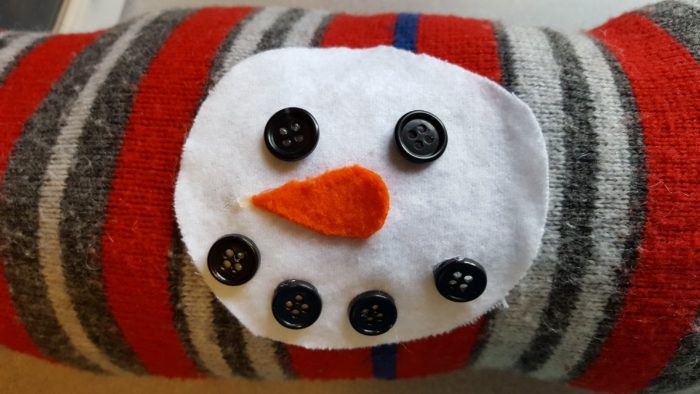
It should look like this:
Save
The snowman face after being hot glued to the pillow.
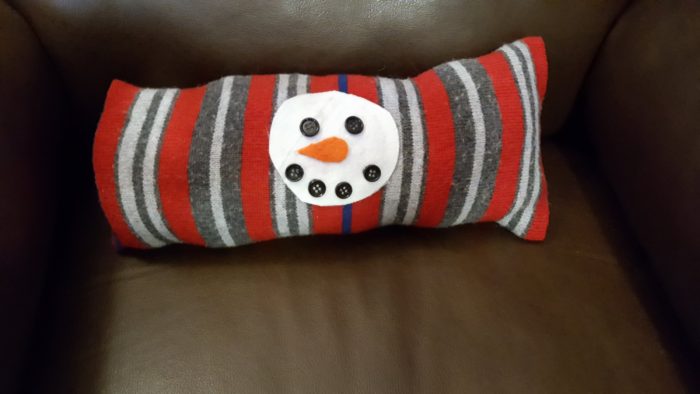
This is your finished product! Isn’t it cute?
Save
A finished snowman pillow resting on a recliner chair.
I hope you enjoyed this free tutorial from NeededInTheHome.
DIY No Sew Snowman Pillow Christmas Decoration For The Home
Join the newsletter
Subscribe to receive our latest articles and promotional content by email from NeededInTheHome
Your request has been received and information has been sent to you.
Please check your email!
IMPORTANT! To make sure that our mail reaches your inbox correctly and is not blocked by mistake, please add our email address to your whitelist - amy@neededinthehome.com to your email address book and/or to "whitelist" (trusted senders).


Leave a Reply